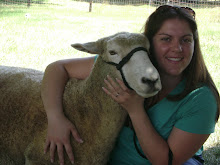
I got a comment a few [s]weeks[/s] months (?) ago asking about the electric net fencing I use, so I wanted to do a review on it since I don't think I've done that before.
We own an acre, which is not much land when you want to raise livestock. We've got about 1/3 acre fenced with permanent fencing for the sheep and goats, and we use the electric net fencing to graze all around the rest of the property. If I let my sheep continually graze only in their 1/3 acre of pasture, there would be nothing but soil left. I make sure to graze down to 3" of grass, which is when you should stop grazing cool season grasses (I have mainly orchardgrass, fescue, and clover). After the sheep graze down to 3", I'll move them into another section of grass. If it's winter or the the middle of the summer (droughty) and there's no grass, I'll keep them in the "sacrifice area" (read more about that
here) and feed hay.
Last year I started the grazing season with 2 strands of electric tape as the portable fence. It worked ok, and it was very easy to put up, but the sheep jumped over it if they got low on grass. It didn't provide enough of a visual barrier for them, and I would definitely not trust it to keep predators out.
Then I saved up my money and bought a roll of
Premier's electronetting. I got the 164' long roll of 35" tall fencing with double spike posts. I decided to get the shorter height roll because I didn't think my sheep would be likely to jump over, and the 42" tall fence was more expensive. I bought a second roll a few months later. I am happy with the height I got, but if I was fencing mature rams or a flighty breed of sheep I would consider buying the taller fencing. If I wasn't on such a tight budget, I'd get the taller stuff...and I probably should have sprung for the taller stuff since it's not really that much more when you think about it, plus it's worth the investment. Ida (a goat) will jump over it if it sags too much.
I love being able to separate smaller paddocks for grazing, which encourages the sheep to graze more efficiently and evenly. If you limit their space, they won't be as picky and will eat what they're given.
The fencing is somewhat easy to handle, if you practice at it. There are still moments I want to yell and cuss and run it over with the lawn mower, but really that wouldn't fix anything. There's a video on the Premier website where they show you how to install and move it. Those are worth watching!
When I set the fence up inside the permanent pasture, I just hook it to the hot wire I have on the inside of the fence. When I take it out in the yard, I have to use an electric line to run from the permanent fence to the mesh, so it gets electrified. I didn't buy the portable charger they sell, because like I said, I was on a budget. In the words of Tim Gunn, I like to "make it work!".
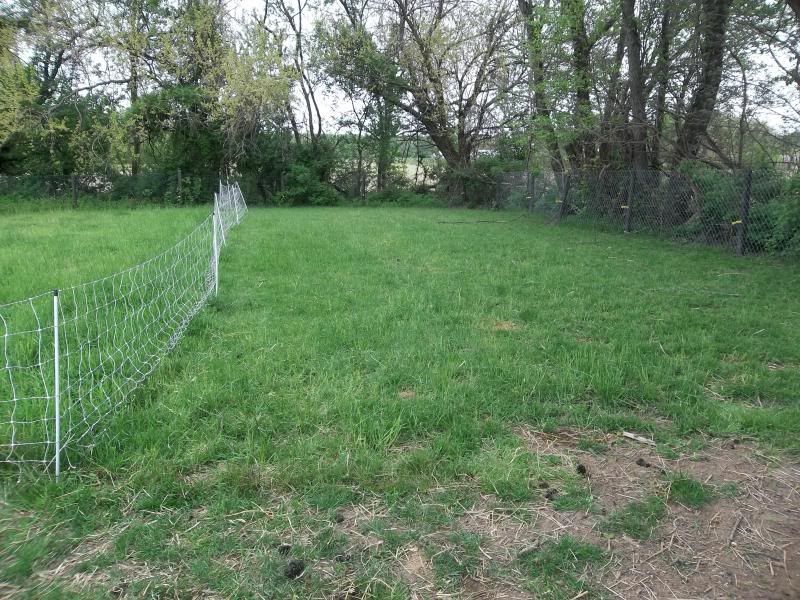
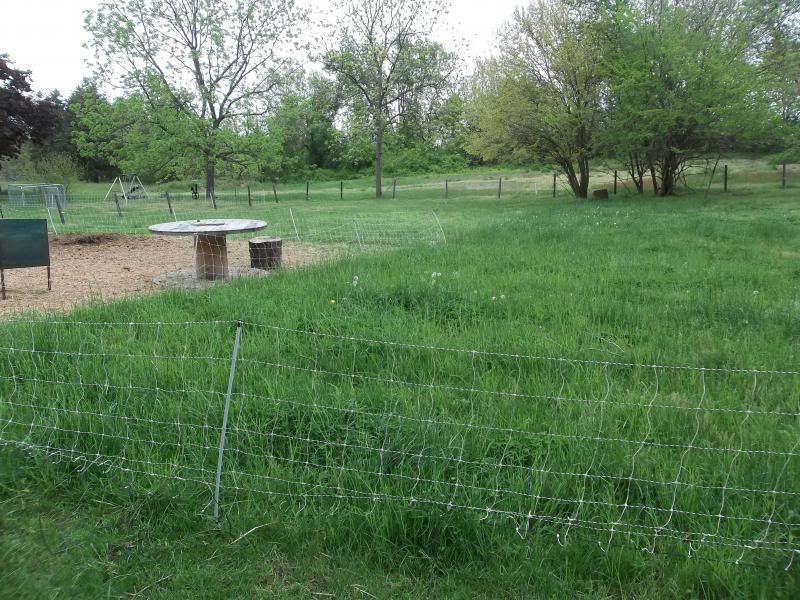
Here's a picture showing the single line of electric tape, going from the permanent fence in the back ground, to the electric mesh (behind me, out of the picture).
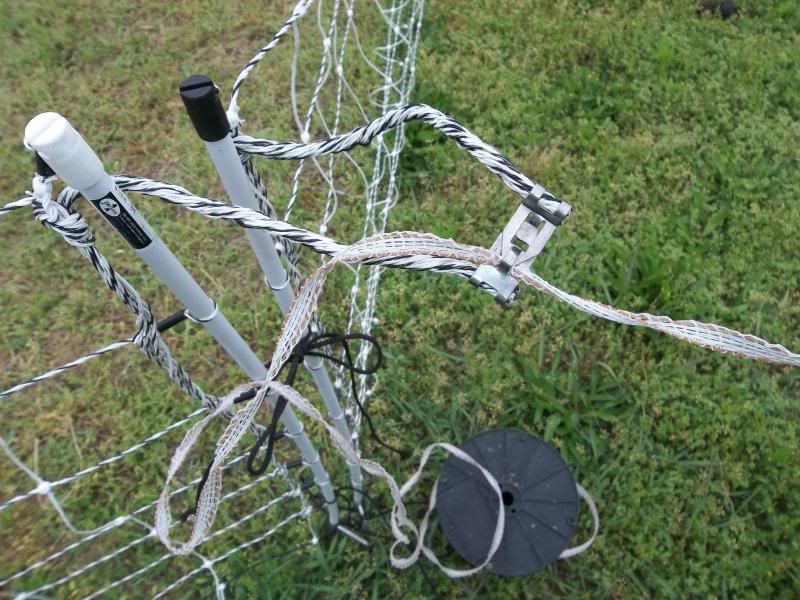
Here's a picture showing how two rolls of fence connect to each other (or in this case, how to complete the circuit of the same roll, connected back to itself in a circle or square). The two metal clips connect, and I just put the electric tape inbetween to carry the current. Fancy.
What I didn't get a picture of is the connection of the mesh tape to the hot wire in the permanent pasture, but I just use a regular
electric fence handle for that. I connect the hook to the hot wire, and connect the other end to the electric tape. Then it's pretty easy for me to unhook the handle when I want to "turn off" the electric mesh.
The great thing about this fence is that you can fence in oddly shaped sections. In the picture below, I've got the fence in an "L" shape. You can really customize it to your needs.
The main thing I've learned with this fence is to NEVER, EVER, EVER, EVER, EVER (get it?) leave the fence up and not electrified. Animals WILL get tangled in it. Last year I got lazy with the connections and left the sheep in the fence without electrifying it. I looked out the window and saw Barley (much smaller at the time) had her head through the fence and was being strangled. Animals aren't real great about getting themselves untangled, and Barley was really stuck tightly. By the time I ran outside to her, she had stopped moving and there was a drop of blood at the corner of her mouth. I was able to untangle her quickly and sort of "shake" her and she was ok. Talk about scary though... I learned my lesson. The animals constantly test the fence, and if it's off, they'll try to push through. You know, the grass is always greener...
Over all, I'm very happy with this fence, and I would definitely recommend it to anyone raising livestock!