Sunday, November 10, 2013

Processing Rabbits

This post is about butchering rabbits for meat. If that bothers you, please don't read any further.  :-) 


We've had meat rabbits for about 2 years now, and I've yet to post about the butchering part.  Most of that is due to my procrastination.  I finally uploaded the pictures and decided it was time to stop procrastinating and just blog already. 

We've raised meat chickens several times, and though we love the chicken meat, the actual butchering of the chickens was a less than pleasant task.  It's not that it was too hard, it's just that it was time consuming and annoying.  Plucking chickens by hand is not very fun, and we don't have the money to invest in a chicken plucker, especially since we weren't raising a large number of chickens. 

I researched meat rabbits as an alternative, and they sounded great.  The rabbits themselves are less stinky than chickens, they reproduce easily and I don't have to order them like new chicks from a hatchery.  And butchering is WAY easier and less time consuming than butchering chickens. 

Many people use the "broomstick" method of killing the rabbit. That's when they set the rabbit on the ground, with a broomstick over the neck.  They step on each end of the broomstick, and pull up on the rabbit's legs which breaks the neck.  I wasn't crazy about that idea, so instead I use our pellet gun.  We've got a Ruger pellet gun, and it works great. David already had it for target shooting, but buying one would be a good investment since it has lots of uses on a farm. 



The pellet gun holds one little pellet at a time, and it's very safe to use.  Each pellet costs something like $.01, so it's economical. 
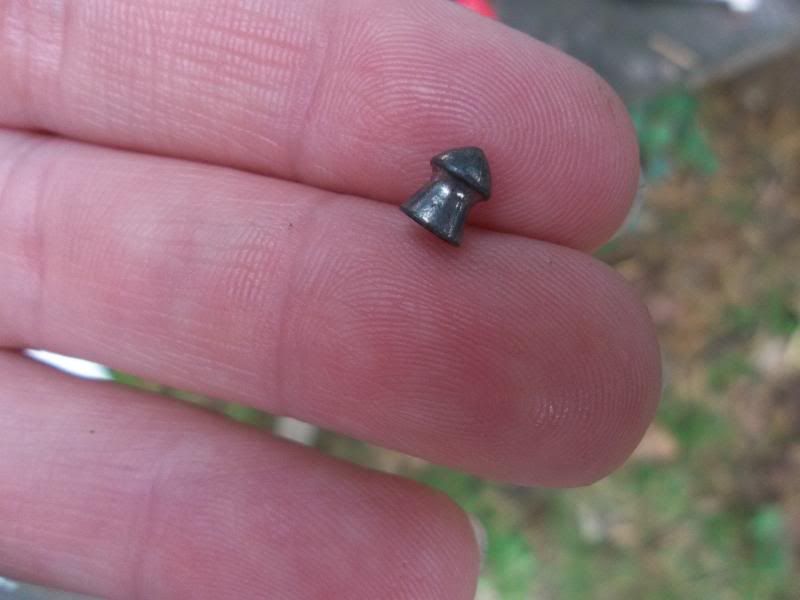


To kill the rabbit, I put them on the ground in a bottomless wire crate (I use a dog crate).  I sprinkle rabbit pellets on the ground, but most times they just start eating the grass.  Then, I place the pellet gun right at the back of their head and shoot them. They're dead instantly, and never knew anything was going on except they were eating grass. 

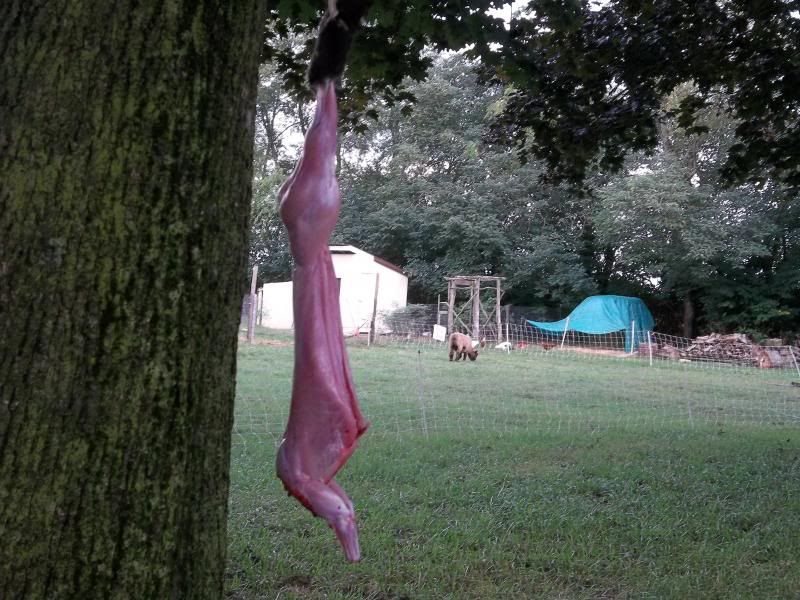
Then I hang the rabbits up from a tree branch, using a rope around each hind foot. 



I watched a video on Youtube on how to process them.  This video was very helpful.  I use a sharp pair of scissors and some meat shears (for cutting feet and the head). 
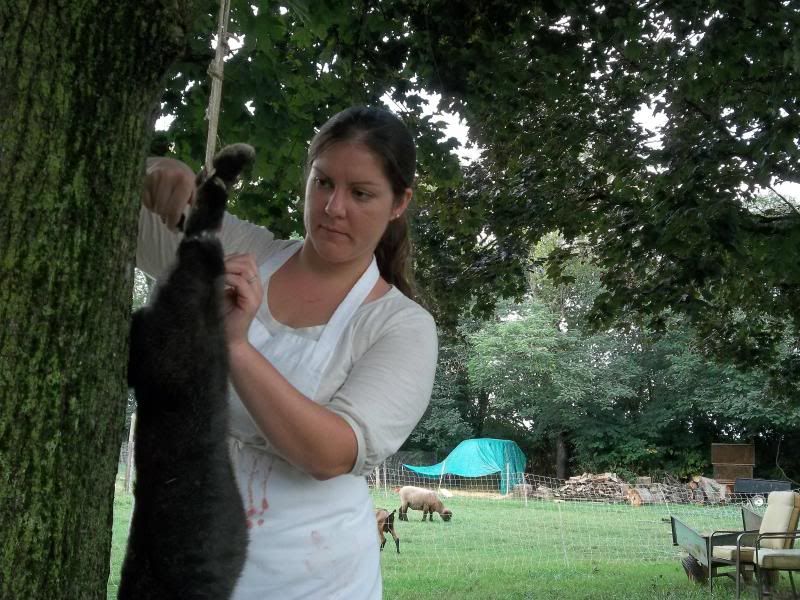


I've saved all the hides from the rabbits I have processed, but I haven't done anything with them yet..they're waiting in the freezer.  Maybe one day I'll tan them.

Each rabbit takes only minutes to process, and it's very easy for one person to do everything himself/herself.  In a few minutes, you have a completely dressed rabbit, ready to be cooked, frozen, canned, etc.


I rinse mine well and bag them up.  Then they go in the freezer. 


Meat rabbits are definitely my favorite small animal to raise for meat.  In my opinion, they're much cleaner than chickens to both raise and process.  Rabbits are easy to house and feed, and they're quiet enough they could be raised in someone's backyard.  Their manure is perfect for gardens, and it doesn't have to be aged like other animal manures.  They're the perfect homesteading meat animal! 

Thursday, November 7, 2013

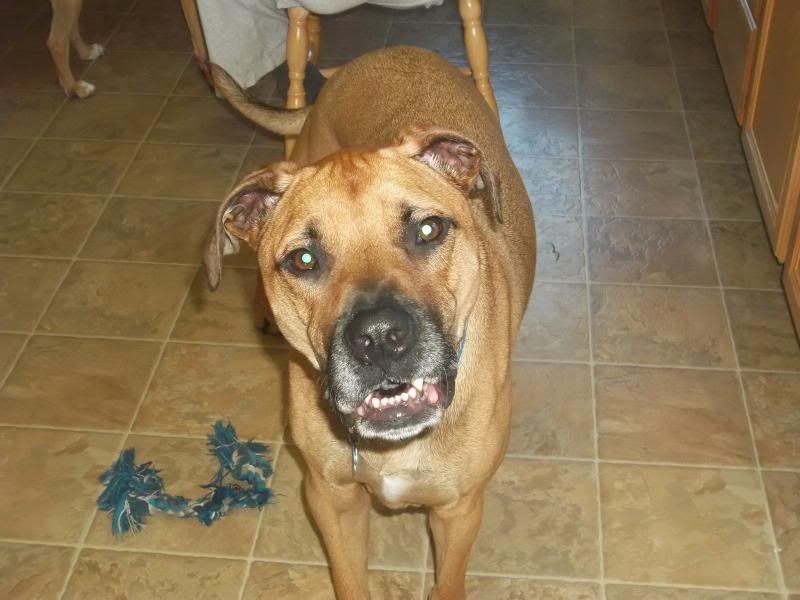
Handsome Boy


How can you resist that face?

Sunday, November 3, 2013

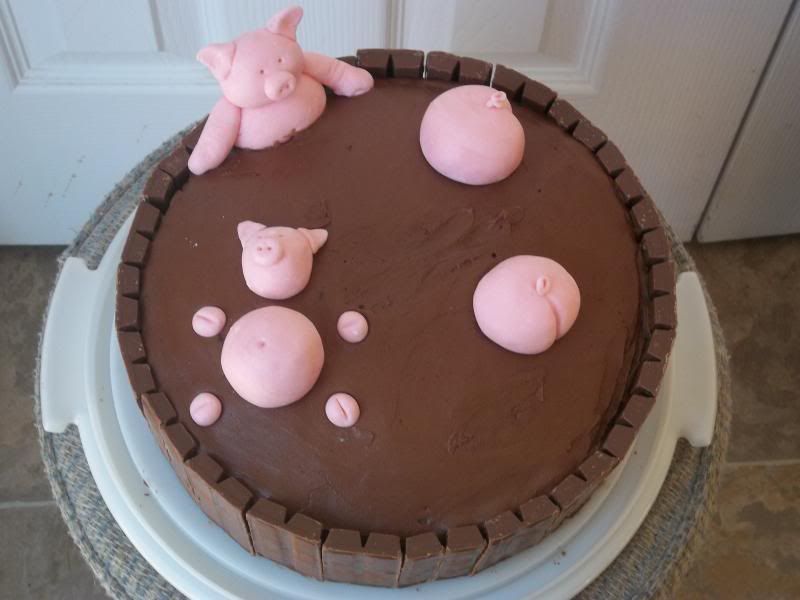
Pigs in Mud

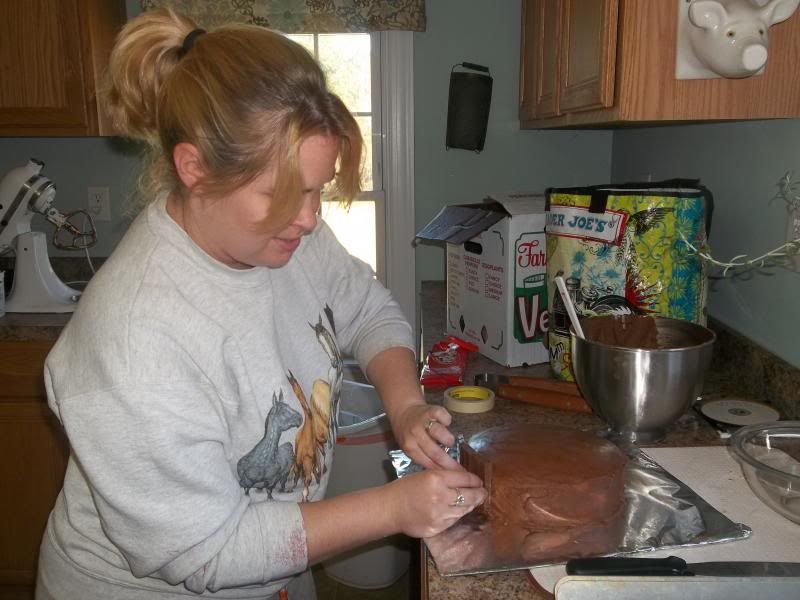
My friend Lindsay and her husband just moved back to Maryland from Minnesota. She was finishing vet school, and just graduated.  I'm really glad she's back in Maryland now, so we can see each other more often.  She came over this weekend, and we decided to do a little baking.  She sent me a picture of this cake, and we decided to make it when she came over. 


We baked regular 2 layer round cakes and frosted them with chocolate buttercream frosting.  The original cake used chocolate ganache, but we didn't have any heavy cream.

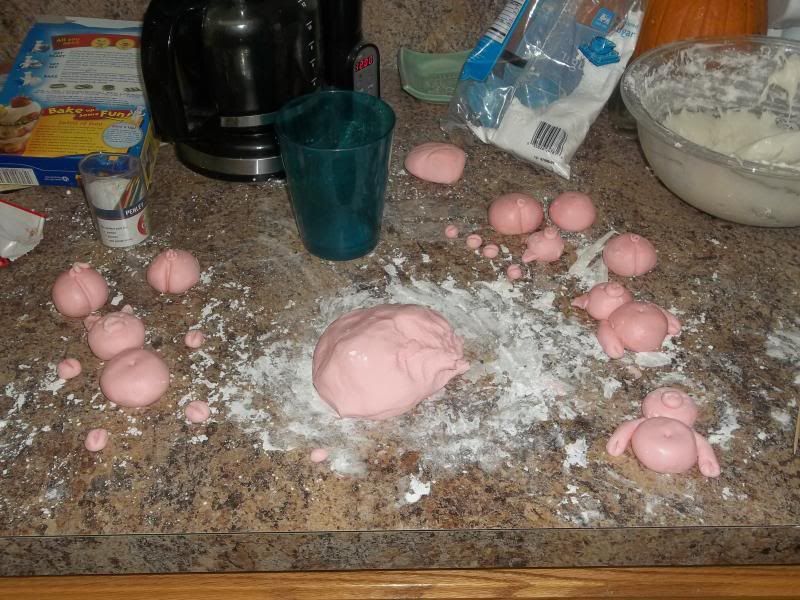
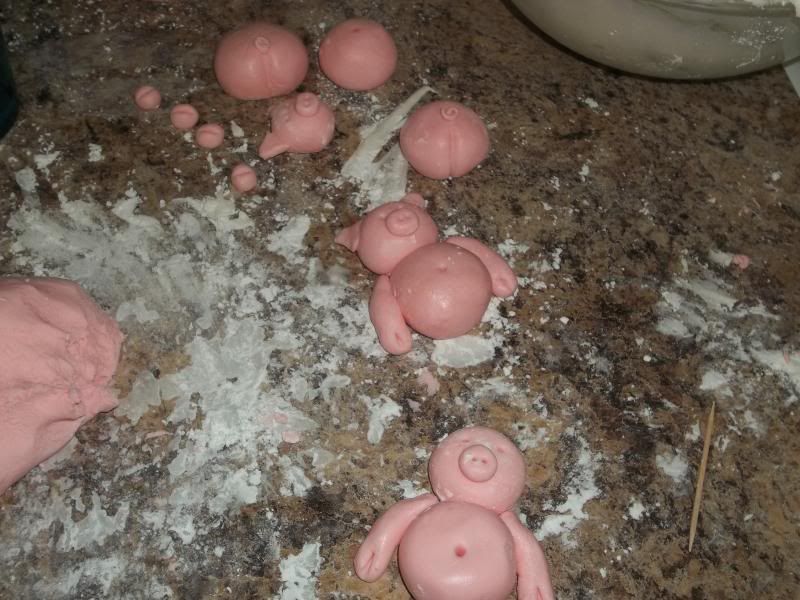
We made marshmallow fondant for the little piggies, and I used this recipe.  It was easy to make, but we had to scale the recipe WAY back. A little red food coloring made the perfect pink color.


The fence is made of Kit Kats, so that's an easy one. 


I love how they turned out!


Thursday, October 31, 2013

Happy Howloween!!


Devin is a scary monster/zombie and Kylee is a vampire cheerleader.  I made her costume because we couldn't find a decent one for less than an arm and a leg.  She had the black skirt and I added the red and white striped ribbon.  Then we bought the plain white shirt and I sewed on the red fabric and striped ribbon.  Add in some makeup and black hair spray and a vampire is born!

Sunday, October 27, 2013

Family Time

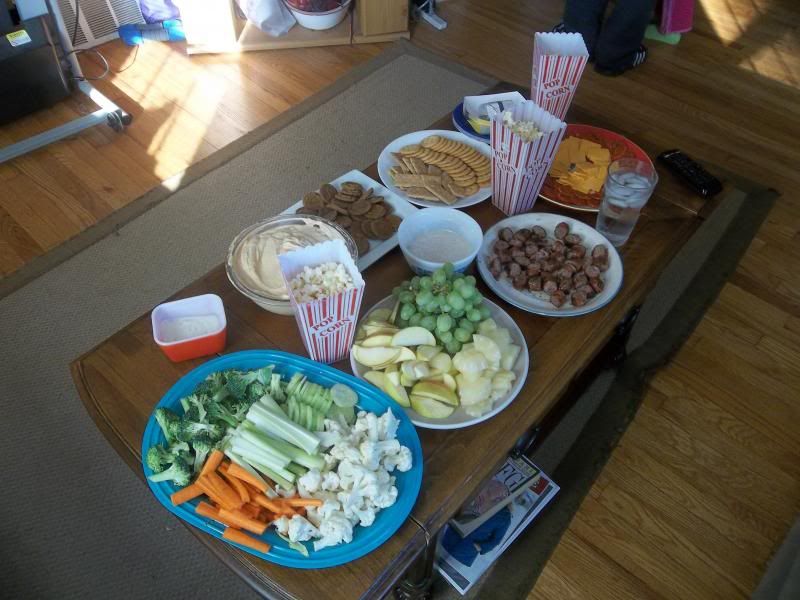
We had a big yardsale Saturday, and the kids helped us out a lot. We told them we'd have a surprise for them today, and we decided to rent a movie and make some snacks. 


"Snacks" turned into veggies and dip, fruit with a yogurt dip (vanilla yogurt and cinnamon), pepperoni and cheese, sausage, popcorn, and pumpkin dip with ginger snap cookies.  We just watched the movie and snacked almost the whole time and it was a lot of fun.  We saw The Croods, which was pretty cute. 

The pumpkin dip is really good and really easy.  It's a can of pumpkin pie mix (not plain pumpkin, the one with the spices added in), and a tub of whipped topping.  It's good on anything...ginger snaps, fruit, graham crackers. 

After a really long day in the cold and wind, it was nice to have a movie afternoon and relax!

Saturday, October 19, 2013

Chowdah


I found this recipe a couple of weeks ago at work.  I was bored and actually reading one of those magazines that comes in the newspaper...the Parade maybe?  See, our office has county, state, and federal employees working together in one space.  Some of our employees were out on furlough, and even though there were still some of us there working, we were prohibited from using our computers which are on the federal system.  I had some free time, so I was reading the paper, and this recipe caught my eye. 

It's called Smokey Corn and Shrimp Chowder, by Relish (or by Jill Melton, the website says both).  I went home and made it that same night, and it was so good.  I highly recommend it.  If you don't like spicy things, cut back on the cayenne pepper by at least half...it definitely had a bite.  And I used turnip greens, but any greens will do.

Smoky Corn and Shrimp Chowder
 
Ingredients:
4 ears fresh sweet corn
4 bacon slices
1 medium white onion, chopped
1 teaspoon salt
1 teaspoon smoked paprika
1/4 teaspoon cayenne pepper
2 tablespoons flour
2 medium baking potatoes, chopped
5 cups 2-percent reduced-fat milk
1 pound shrimp, peeled (deveined, if large)
4 cups baby arugula or other peppery greens, such as mache or chopped and stemmed mustard or turnip greens

1. Cut corn kernels from cob. Scrape cobs with back of knife to release milk. Set aside.
 
2. Cook bacon in large Dutch oven. Remove from pan, drain and crumble.
 
3. Add onions, corn, smoked paprika and cayenne pepper to bacon drippings. Saute 10 minutes. Add flour, whisking well and cook 2 minutes. Add potatoes and milk. Cook 10 minutes or until thick and creamy. Add shrimp and cook until pink. Stir in arugula. Serve with crumbled bacon.

Sunday, October 13, 2013

Messy Kitchen

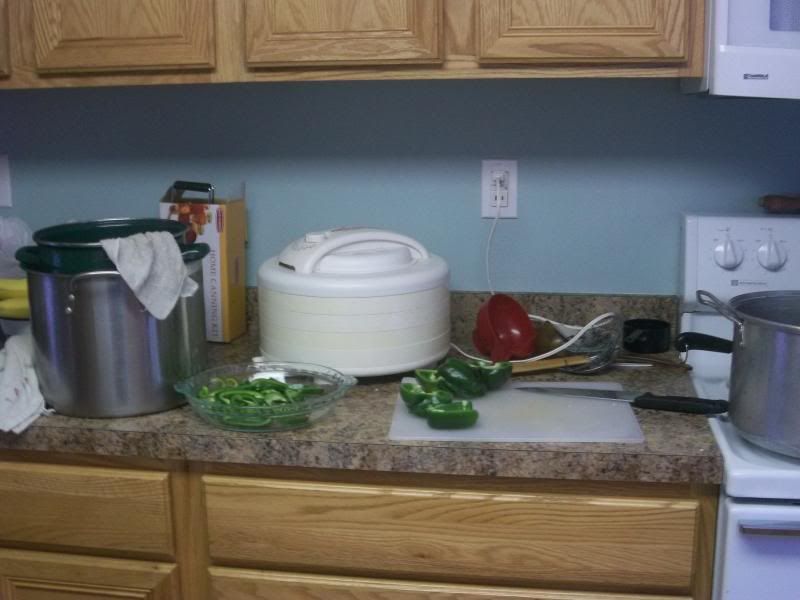
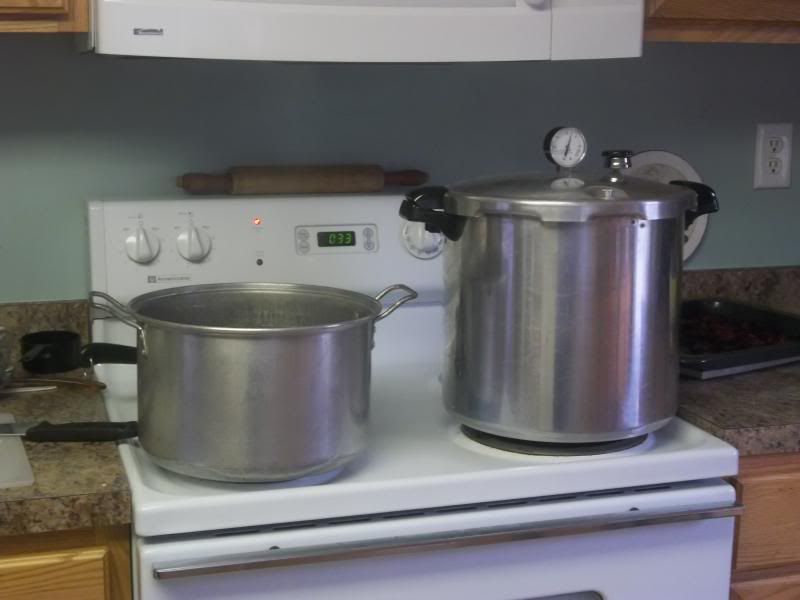
It's food processing time around here, which makes for a very messy kitchen.  This weekend I'm working on canning and drying potatoes, cutting up and freezing peppers, and processing apples (dried, applesauce, and apple butter).  I also have a half bushel of tomatoes waiting for me to do something with them, but I realized this weekend I despise processing tomatoes.  I don't know if it's because there are too many steps (like blanching, peeling, chopping, etc), or if it's because we don't really eat that many tomatoes unless we're having it as sauce, but I think I'm going to save a few for sandwiches and give the rest to the chickens.  Life is too short to be held hostage by tomatoes. 


We were given a good amount of bell peppers, so I sliced some and diced some to freeze.  The sliced ones will be great in fajitas, and I froze them individually on trays so we can just pick out the amount we need. 


I had the pressure canner going with a second load of potatoes yesterday.  This is my first year canning potatoes.  I bought about 40 lbs of organic potatoes from my friend who owns an organic vegetable farm.  I chopped them and canned them, and we used a jar of them the other night in soup.  It was nice being able to just open the jar and add them to the soup, which saved a lot of time.  I'm also drying some chopped potatoes (which we can add to soup as well), and some sliced potatoes (for things like au gratin potatoes). 


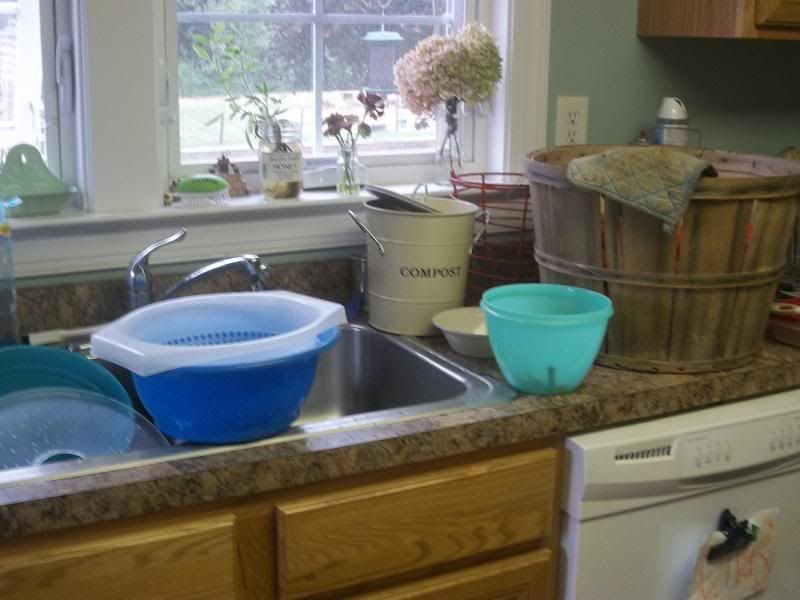
This is the mess near the sink.  Lots of bowls everywhere, and the compost bucket is full. 

Today I'll get started on the apples, since we went to the orchard yesterday.  Hopefully the dehydrator will be finished with the potatoes soon, so I can put in a load of apple slices. 
Related Posts Plugin for WordPress, Blogger...