Sunday, May 8, 2016

Wet Felting

Happy Mother's Day!  But more importantly, Happy Birthday to my Momma!  Now that she's opened her gift, I want to share it here.

I am a felter, and normally I do needle felting.  I wanted to try some wet felting on a larger scale than just wet felting soaps and beads and things, so I set out to make a gift for my Mom.

I started out by laying down a towel and then a layer of bubble wrap, and then a layer of prefelt.  Prefelt is a slightly felted fabric and it's great for the base of felted objects like this. You can also needle felt with it. I started layering whisps of wool on top of the prefelt.
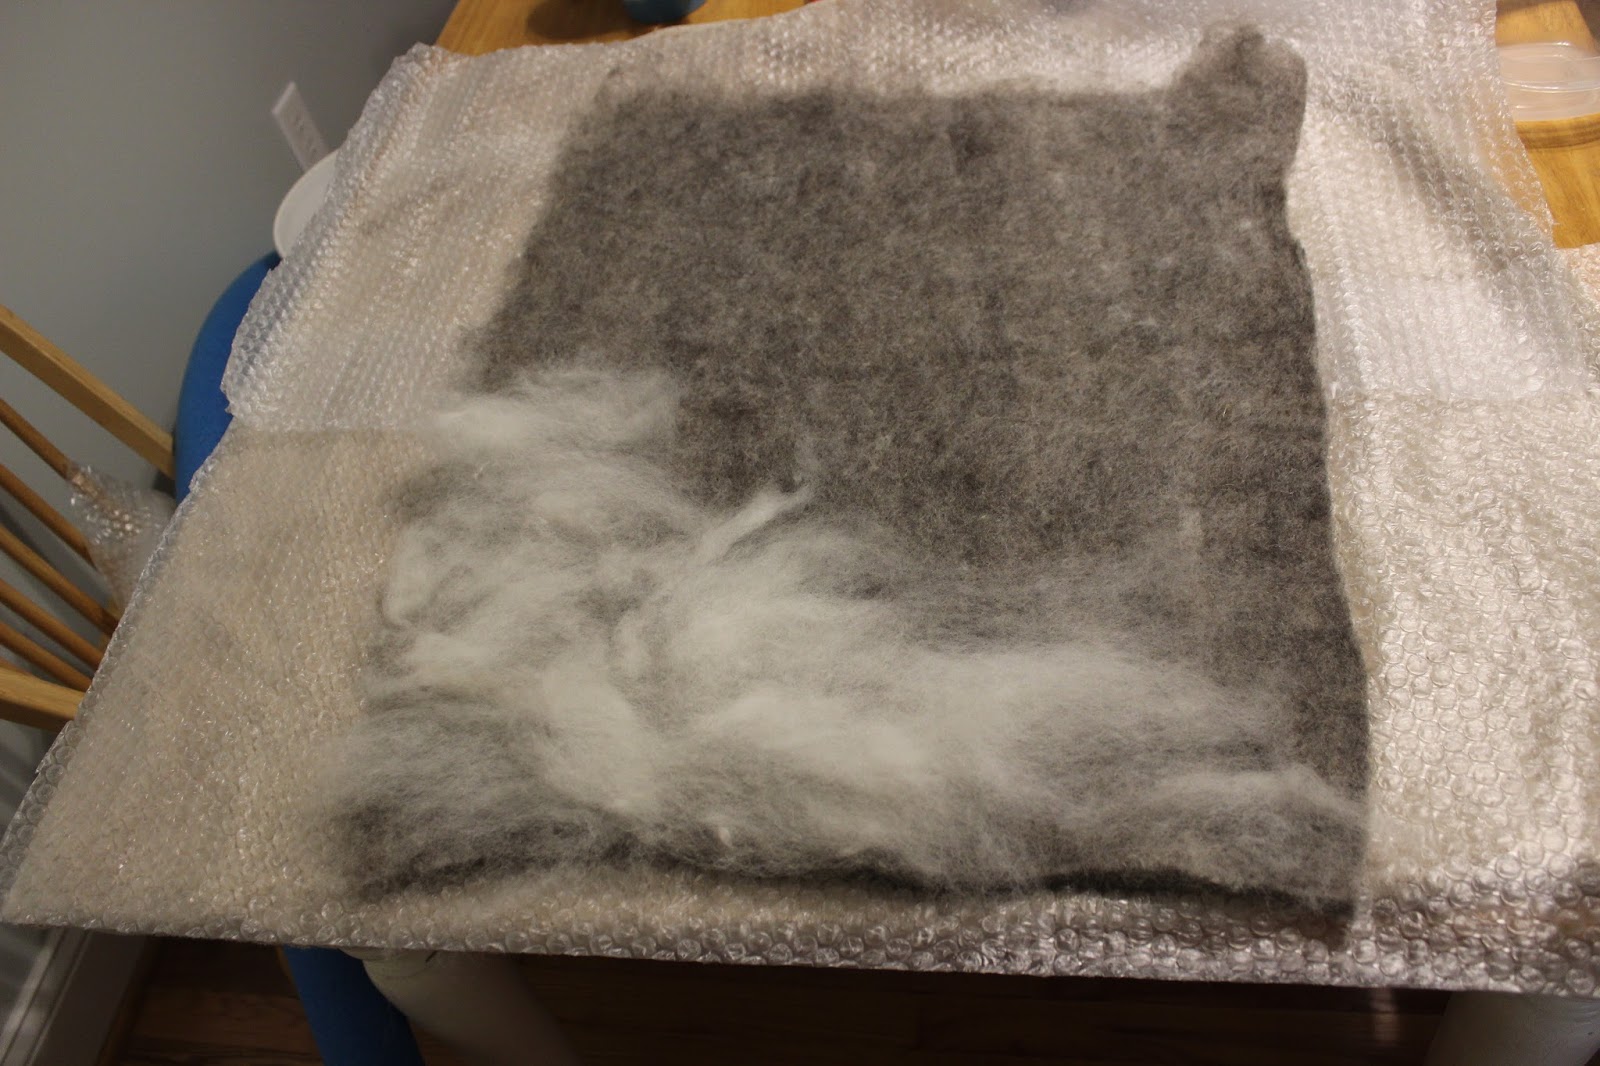


I layered it in one direction first, then in the opposite direction.  Once I had a pretty good layer covering the prefelt, I started in with the colors of the scene I wanted. I made a sky and a field of flowers.


This was fun....putting the colors together to create a "painting".


Then I started adding in dyed locks of wool.  These locks are in natural form, and haven't been carded or combed like the roving.  They're a lot of fun to use!


Once I finished with the sky and the greenery, I was ready to add in the flowers!  I wanted to make hollyhocks, so I added circles of roving to mimic hollyhocks.


Once I was happy with the layout, it was time to wet felt. This was the nerve-wracking part! I was nervous something would get messed up, or the flowers would smoosh together or something.  I used a piece of sheer fabric (this just so happened to be scraps from bridesmaid dresses from our wedding).


The wool was still light and poofy at this point, but then I poured hot soapy water over it.
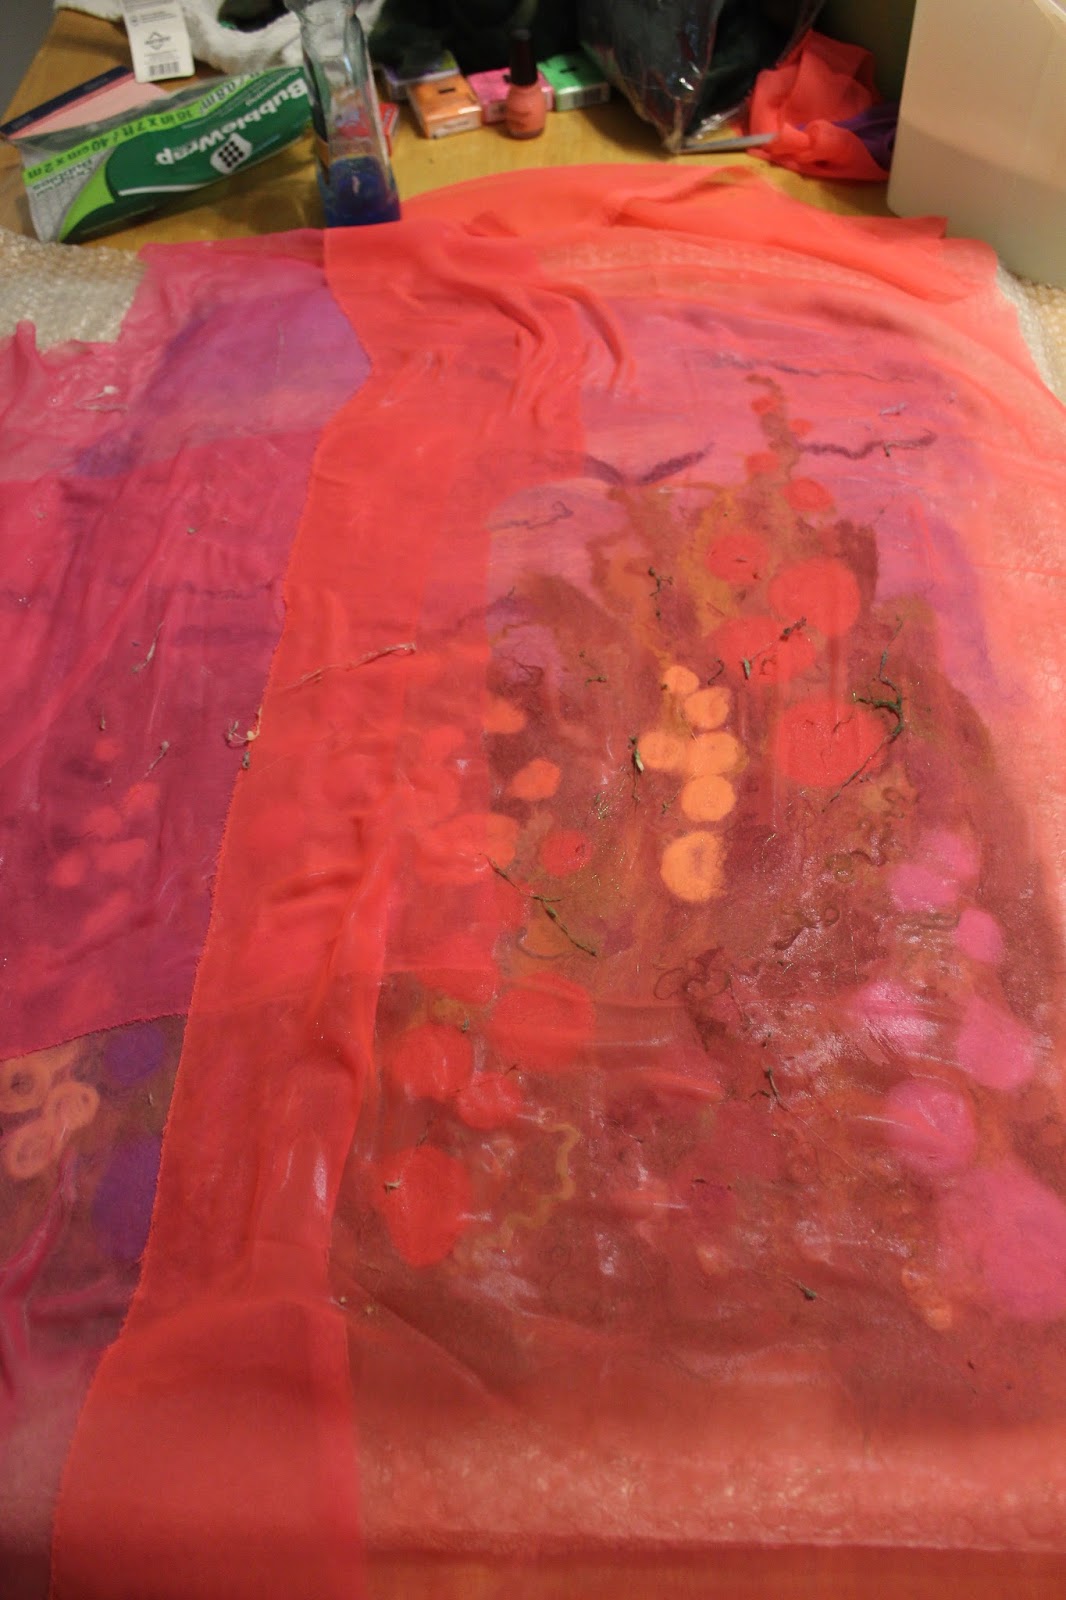


You can see above how the wool flattens out once wet. I would push it down gently to make sure the wool was saturated, but not sopping.  Then, I wet my hands and put dish soap in my hands, so I could smooth my hands over the fabric to gently start the felting process.  I rubbed my hands in circles and back and forth over the picture for several minutes until I could tell the wool was starting to felt.


Once I peeked at the wool below and could see it felting, I was ready to move on to the more aggressive felting.  The wool and bubble wrap get rolled around a pool noodle, then rolled back and forth to vigorously felt it.


It gets rolled 100 times, then it gets unwrapped and rolled up from a new direction and worked again 100 times. I did this 4 times, rolling up the felt from each direction for rolling.  After 400 rolls, it looked like this.


I was thrilled with how it turned out!  I wanted to add some detail though, so after it dried, I got out my beads and felting needles.


I added some beads to the flowers, and needle felted borders to give it more of a 3D effect.


I needle felted centers to the flowers.


And then I added a hummingbird.


And the finished product:


I was so happy with the finished product! I was so happy to send it to my Mom, because she is a quilter (doing some really amazing art quilts) and I knew she would appreciate it!

Wet felting is pretty addicting, and I'm already planning my next piece!


Sunday, May 1, 2016

Wash and Dye Workshop

I'm lucky enough to live relatively close (about an hour) from Sarafina Fiber Art, a great source for felting and fiber art supplies.  Sara, the owner, has also posted numerous tutorials for different felting projects online.  Sarafina offers workshops for things like wet felting, needle felting, dyeing, and painting.  I took one of those workshops last weekend.

The Wash & Dye Fiber Processing workshop was a blast.  We learned how to dye different fibers and we all went home with our own fiber art bundle.  Each person picked through several different types of fibers to find a blend of things we wanted in our bundle.  There were a lot of choices.


We made cards with the name and a sample of each fiber.  Then we picked an inspiration photo and made a plan for the dye pot.


Sara had quite a few options of dyes available.


We also washed part of a Cormo fleece, to practice working with raw fleece.


Then we prepped our fibers for the dye pot.  The fibers went into a soaking bath with citric acid.


Then the fibers went into the pot (with more citric acid), and the different dyes were poured in quadrants.


Then the fibers were put in a rinse bath with vinegar.


Then we spun the fiber dry in this nifty laundry spinner!


The fiber art bundles were set in the sun to finish drying.


This is mine, below.  I have a project in mind for it, and hopefully I'll get to work on it soon.


While I was there, I drooled a bit over all the wool in their warehouse!  This picture below was only one small part of the fiber stash!


It was a fun afternoon, and I've been bitten by the dye bug. I can't wait to do more of this!

Thursday, April 28, 2016

Lamb Updates

The last lambs of the year were born yesterday.  Dixie had twins, a ewe and a ram. They're all healthy and doing great.


The other lambs are really getting big.


The ewe lamb on the far left is really impressing me.  She's the biggest of all of the older lambs, and she's a triplet.  I hope the kids decide to take her to the fair so I can see how she does.


Here are the three triplets together.


The Suffolk influence gives a few of these lambs an interesting face...I'm used to the woolly faces of the Southdowns and Romneys, and these lambs have woolly faces but they've got bigger patches of hair around their eyes and mouths than I'm used to.


Here's the ram, below.  He sure is a long boy.  And see how big Dixie was (in front of him) before she lambed?

Random Stuff


The sky was crazy one day a few weeks ago.


The kids 4-H club glazed ceramic piggy banks during their last meeting. The piggy banks will be fired and returned next meeting.


There's a bulk foods store near us that sells cereal marshmallows.  Cereal marshmallows in popcorn....a great invention!


We met some friends for dinner one night recently and had some delicious sushi.


I voted in the primary election. Yay for voting!


We split a beef with a few friends and this is one of the steaks. The thing was HUGE.  David and I each got about 2 meals from it.


The crop plane flew something over the fields next to our house, so I got a few good pictures.

I filled up the incubator with some eggs from my friend's hens and some from mine.  I was really excited to hatch these, because they are mostly Marans eggs (some Black Copper, some Blue Copper, Cuckoo, and Birchen).  
The eggs that weren't fertile or developing were tossed out, and the remaining eggs got put into compartments to keep the breeds separate.  Unfortunately, I didn't make the walls high enough and the chicks that are currently hatching (7 so far) are hopping all around like the cardboard is just a minor inconvenience.  

Kylee was sitting on the counter this afternoon, watching the eggs hatching and the chicks bopping around.  

I ordered these chicks (above) from the local feed store.  I got an assortment: 6 Ameraucanas, 5 Welsummers, 2 Speckled Sussex, and 2 Cochins.  The Cochins came in an assortment of colors, and I was so excited that there were 2 blues available. I've wanted Blue Cochins for a long time, so I scooped those two up so fast!  Some of these chicks are going to a friend, and I think I may end up selling some, because I'm running out of room in my coop!

Monday, April 18, 2016

Woolly Stuff

I've knitted a few fun things lately and wanted to show them. First up is Oink, by Susan B. Anderson.  It's the cutest little flying pig!  I love how it turned out.  


A while back I found Susan B. Anderson's reversible patterns.  I knit the little Egg-to-Turtle a few months ago.


This time I made the Mini-Reversible Duck to Bunny.  


They're such fun little patterns and take hardly any time at all to knit up!  You have to like fiddly things though, because some of the pieces can be a bit fiddly.

Remember the roving I dyed with Easter egg dye?  I spun it and it turned out really well, if I do say so myself.  I ended up spinning up the colored roving and some white roving, then plying them together.  Stripes!  I really enjoyed the dyeing part, and I can see a lot of that in my future!


Related Posts Plugin for WordPress, Blogger...