I am a felter, and normally I do needle felting. I wanted to try some wet felting on a larger scale than just wet felting soaps and beads and things, so I set out to make a gift for my Mom.
I started out by laying down a towel and then a layer of bubble wrap, and then a layer of prefelt. Prefelt is a slightly felted fabric and it's great for the base of felted objects like this. You can also needle felt with it. I started layering whisps of wool on top of the prefelt.
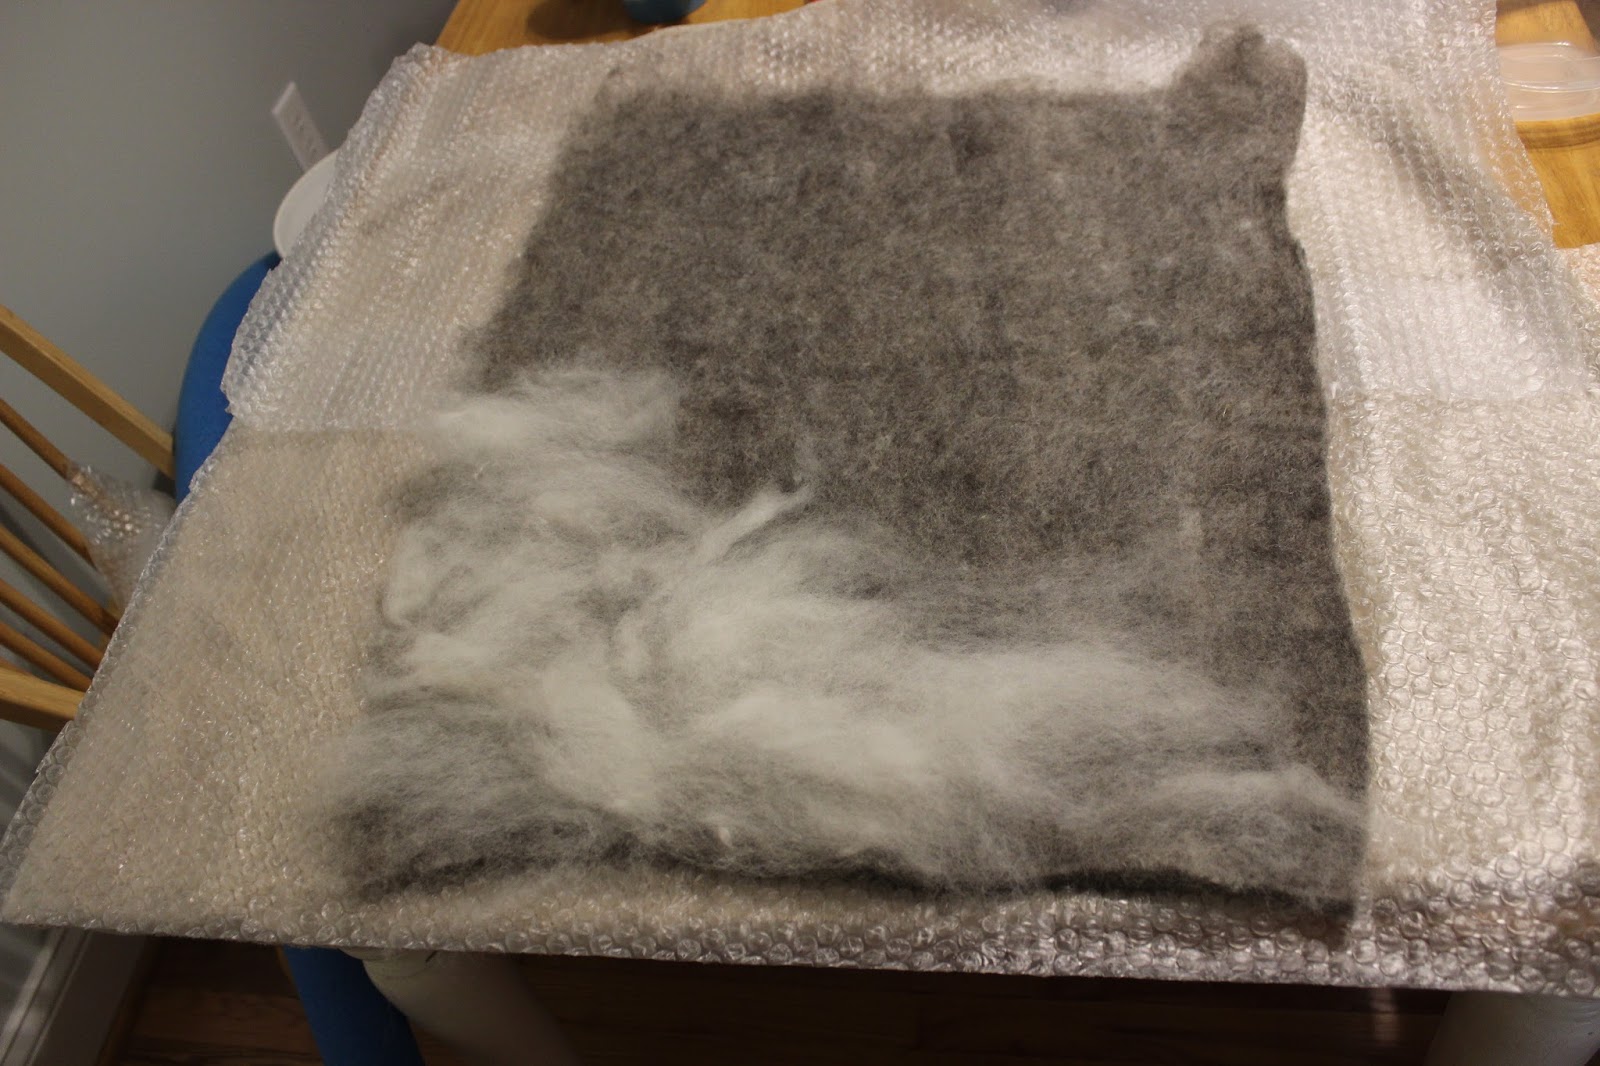
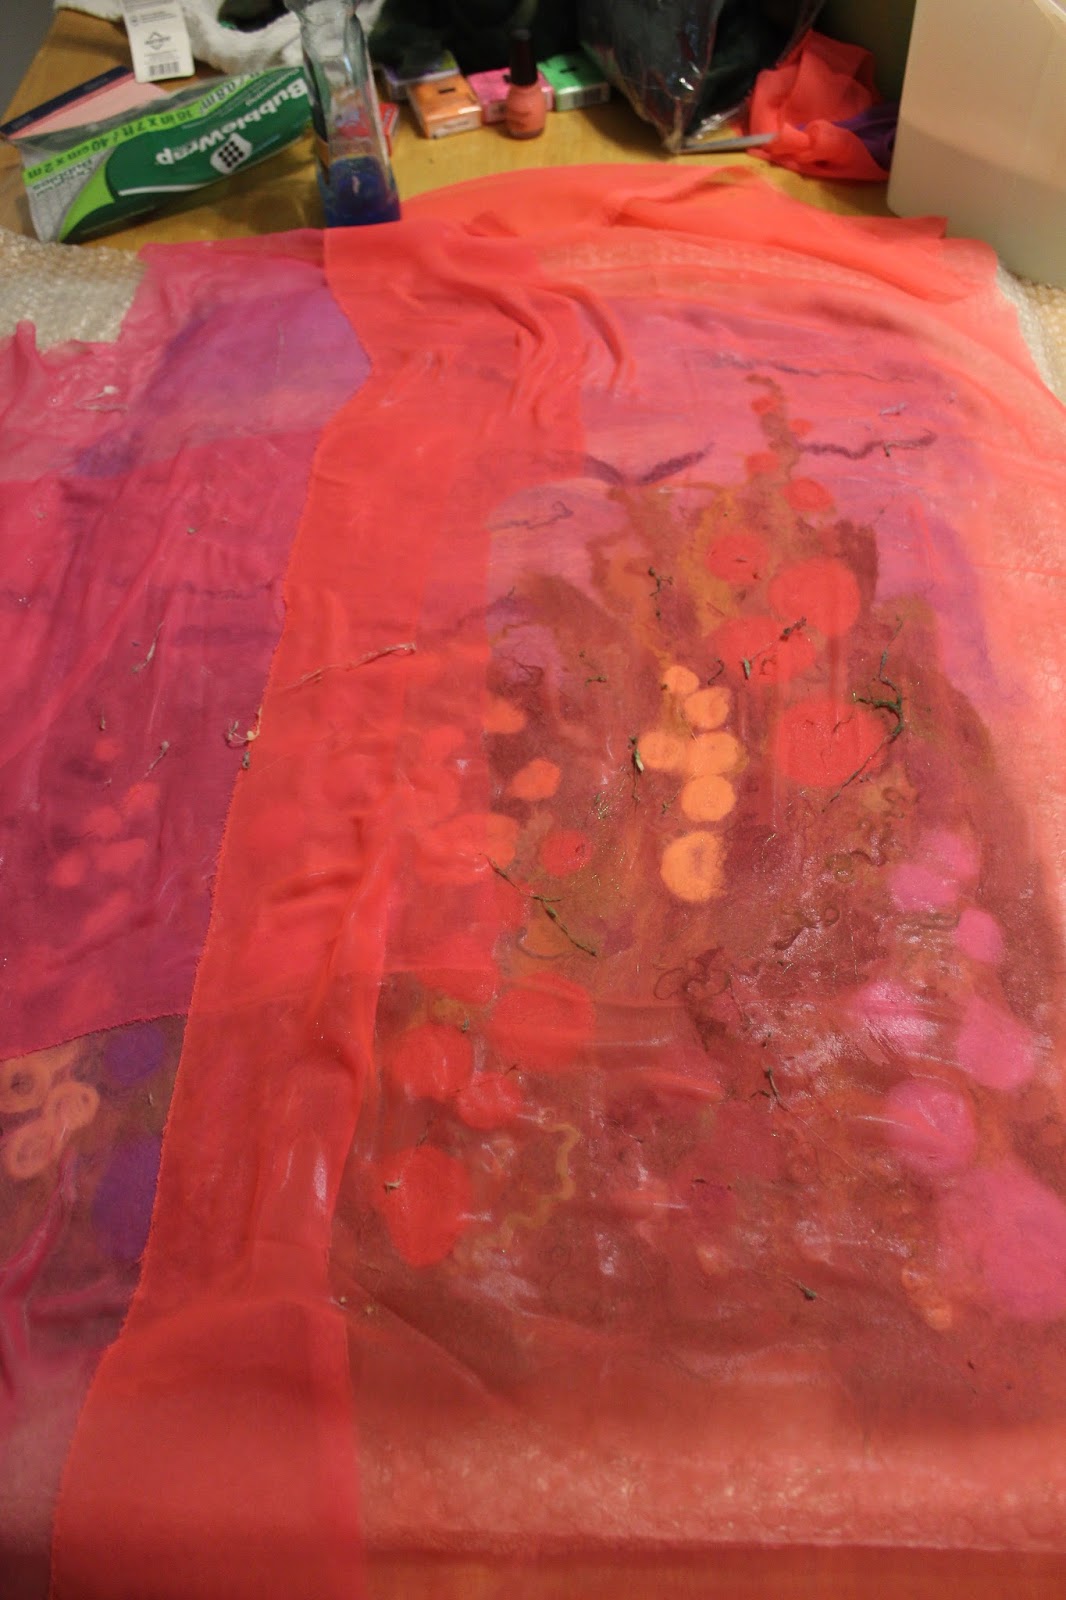
I layered it in one direction first, then in the opposite direction. Once I had a pretty good layer covering the prefelt, I started in with the colors of the scene I wanted. I made a sky and a field of flowers.

This was fun....putting the colors together to create a "painting".

Then I started adding in dyed locks of wool. These locks are in natural form, and haven't been carded or combed like the roving. They're a lot of fun to use!


Once I finished with the sky and the greenery, I was ready to add in the flowers! I wanted to make hollyhocks, so I added circles of roving to mimic hollyhocks.


Once I was happy with the layout, it was time to wet felt. This was the nerve-wracking part! I was nervous something would get messed up, or the flowers would smoosh together or something. I used a piece of sheer fabric (this just so happened to be scraps from bridesmaid dresses from our wedding).

The wool was still light and poofy at this point, but then I poured hot soapy water over it.
You can see above how the wool flattens out once wet. I would push it down gently to make sure the wool was saturated, but not sopping. Then, I wet my hands and put dish soap in my hands, so I could smooth my hands over the fabric to gently start the felting process. I rubbed my hands in circles and back and forth over the picture for several minutes until I could tell the wool was starting to felt.

Once I peeked at the wool below and could see it felting, I was ready to move on to the more aggressive felting. The wool and bubble wrap get rolled around a pool noodle, then rolled back and forth to vigorously felt it.

It gets rolled 100 times, then it gets unwrapped and rolled up from a new direction and worked again 100 times. I did this 4 times, rolling up the felt from each direction for rolling. After 400 rolls, it looked like this.

I was thrilled with how it turned out! I wanted to add some detail though, so after it dried, I got out my beads and felting needles.

I added some beads to the flowers, and needle felted borders to give it more of a 3D effect.

I needle felted centers to the flowers.

And then I added a hummingbird.

And the finished product:

I was so happy with the finished product! I was so happy to send it to my Mom, because she is a quilter (doing some really amazing art quilts) and I knew she would appreciate it!
Wet felting is pretty addicting, and I'm already planning my next piece!
Wow! Beautiful Katie. Thank you for showing the process.
ReplyDeleteKatie, it's amazing! You are so talented! That hummingbird looks real!! I can't wait to see it in person!
ReplyDeleteThat is beautiful!!!
ReplyDeleteI am so honored to own such a large and wonderful piece of Katie's art!! It brought tears to my eyes when I opened it and realized she took the time, materials, and effort to make it just for me and that's beside the fact that it's absolutely GORGEOUS...omg! I love hollyhocks and hummingbirds...how perfect! I treasure it and am hoping to have it specially shadow box framed soon. I want to make sure it lasts a lifetime plus more! I am just in awe of Katie's talent!! Thank you so much sweetie pie! Love you, Momma
ReplyDelete