Monday, April 29, 2013

The Great Mulching Challenge

Every year my garden gets taken over by weeds.  This year I'm determined to control the weeds, without as much weeding.  I plan on doing that by mulching every section of garden that can possibly be mulched. 

I start by laying down something like cardboard or paper.  I stop by the feed store now and then and ask for any cardboard they've got that they're not using.  These pieces below come from the pallets of feed.


I also use paper feed bags.  I cut the bottom seam off, and cut the bag up the side to open it up.  The paper bags have three layers, and the middle one has plastic on it, so I don't use that layer. 


After the paper gets laid down, I put a heavy layer of straw on top. 


I've only got one row done so far, but as I plant the garden I'll mulch more.  I'm really hoping this effort will pay off later this summer!

And my asparagus is finally up!  I planted it last year, and when I weeded the bed earlier this spring I saw a ton of vole holes.  I thought for sure voles had eaten all the asparagus, but luckily it seems fine!  I only picked 3 asparagus this year, but next year they'll be ready for a bigger harvest.  I can't wait!


Tuesday, April 23, 2013

This and That


This afternoon I went out on the deck to take some pictures for my Gardener's Soap sets.  As soon as I sat down on the deck, Tucker came over and layed right down in front of me.  He thinks any time I'm at his level it means I want to have him in my lap.


It's hard to resist a face like this, though!


David bought me the bird feeder on the left as a Christmas present.  It's by far my favorite present of the year.  My brother and his girlfriend got me a Tractor Supply gift certificate for my birthday (in early April) and I got a thistle sock to add to my bird feeding area.  I've already got Goldfinches!  And I put out a suet feeder with nesting material.  I hope to have lots of birds all season long. 


Here's my mini-greenhouse experiment.  I wanted to plant some baby bok choy, but I'm not very good at keeping teensy seeds like that watered if I plant them in the main garden.  I figured I'd plant them in the window box right on the deck, so I see them every time I go outside.  I'm leaving the plastic wrap on until they germinate, then I'll take it off.  I figured it'll keep the soil warm and moist so the seeds have a better chance. 


And check out what David made me!  He carved these utensils by hand, out of chunks of poplar his coworker gave him.  I love them!  They're his first carvings, and I think they're great!  I hope to use them for many years to come. 


Both of my does (rabbits) are hopefully pregnant and due any time now.  Hopefully I'll be posting baby rabbit pictures soon!

Wednesday, April 17, 2013

Wordless Wednesday-Finally Grazing

The ram and ewe lamb.


Bean (facing) and Barley


Ewe lamb


June


Elphie, June


Nessa


Ram


Tuesday, April 16, 2013

Shearing Video

Here's a video of Emily shearing Barley.  I'm in awe of how good she is at shearing. She just moves so naturally and she instinctively reacts when the sheep moves, knowing exactly how to move the sheep to keep it calm. 


Monday, April 15, 2013

Shearing Day!

Today was shearing day!  Emily Chamelin, who shears in the mid-Atlantic area.  I usually do my own shearing, but after hurting my back I realized it's worth the money to pay a professional!  She did all 7 sheep faster than I could have done just two. 

Barley was the first sheep to be sheared.  Here's the before:


And here's the after:


Spots!  I don't remember her having spots last year after I sheared her.  Natural colored Romneys (she's a cross) tend to fade as they age, so it's always a fun surprise to see what she'll look like after shearing. 


Here's Bean's fleece.


And here's the nakey Bean.


I think she looks pretty great (she's on the right below, Darla is on the left). 


And here's the whole flock together.  The ram needs to gain some weight, which I knew. He has grown a lot frame-wise, now he needs to put on muscle.


The ewe lamb is looking great!  I still haven't named her...


Remember my friend's very wooly ewes? They got sheared too!


I was really looking forward to shearing day.  It's like Christmas morning.  Waiting to open presents, waiting to see what the ewes look like-same thing!

Thursday, April 11, 2013

Random Bits


I'm going to do a post about random stuff because each thing isn't really individually worthy of a blog post!  The other night we had the most delicious dinner.  We had lamb chops (home grown, from last year's ram lambs) and parsnips on the grill.  I chopped the parsnips and put them in the cast iron skillet with some lard, and they were really good.  The lamb chops were so good both kids were practically gnawing on the bones to get off every tiny bit of meat they could!  It has been unusually warm here (80 degrees!) so we fired up the grill.  Love that thing.


Devin turned 10 at the end of March.  Where does time go?  He got his very own recurve bow, so David set it up for him and they all went out to practice. 


David helped Kylee since she's a little too small to use this one on her own.


They all took turns, and I (wo)manned the grill so the lamb didn't burn!


I mentioned I got a bird feeder for Christmas, and I am still really enjoying feeding the birds. I saw a new bird there, and snapped a picture.  Does anyone have any guesses as to what kind it might be?


I finally got out in the garden!  The warm weather got me motivated to get out there and do stuff.  I finally got the potatoes planted.  First I had to cut the seed potatoes up and let them heal over before planting.


Here's what my garden looks like now.  I cleared out all the dead tomato plants and cleaned it up a big...which should have been done in the fall, but oh well. 


Digging the trench wasn't much fun.  I have a herniated disc in my back, so I had to be careful to not over do it, which is hard when you're digging a trench.  I would have loved for it to be wider and maybe a tad deeper, but it'll have to do! 


I have 2 blueberry bushes.  I can't remember the varieties, but one is looking good and the other is looking a little sad. 


I know it's alive though, because I accidentally on purpose broke the tip of the stem and it's green in there. 


Tonight I need to focus on getting my seeds started.  I have been meaning to at least start my tomatoes, but I haven't been able to get around to it.  Hopefully tonight is the night!

Thursday, April 4, 2013

Homemade Terrariums

A while back I saw th e cutest picture of a terrarium while I was browsing through Pinterest.  It had nice green moss and the cutest little felted sheep.  I remembered that idea last week before I went to visit my Aunt Linda for our annual Must Love Knitting weekend (you know, a weekend filled with great people, great food, and great yarn!).  I thought it would make a nice gift, so I researched how to make them and got all the materials. 

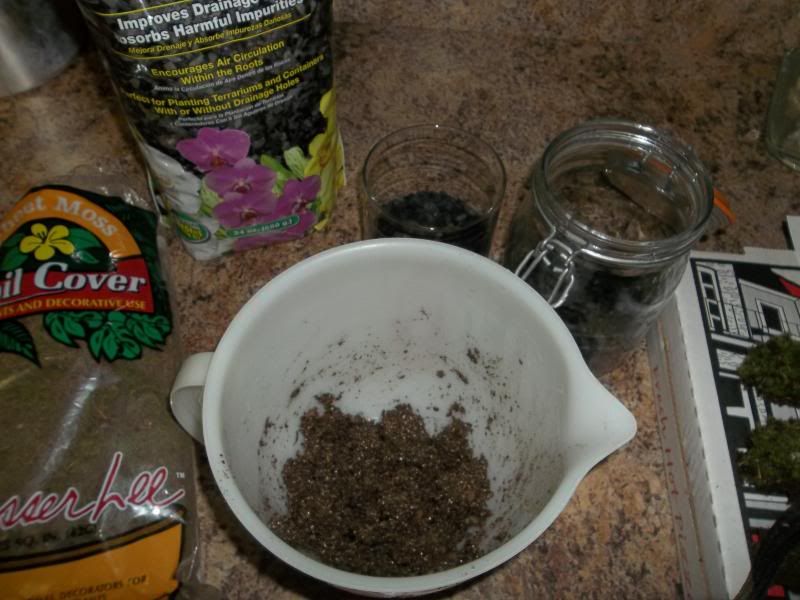
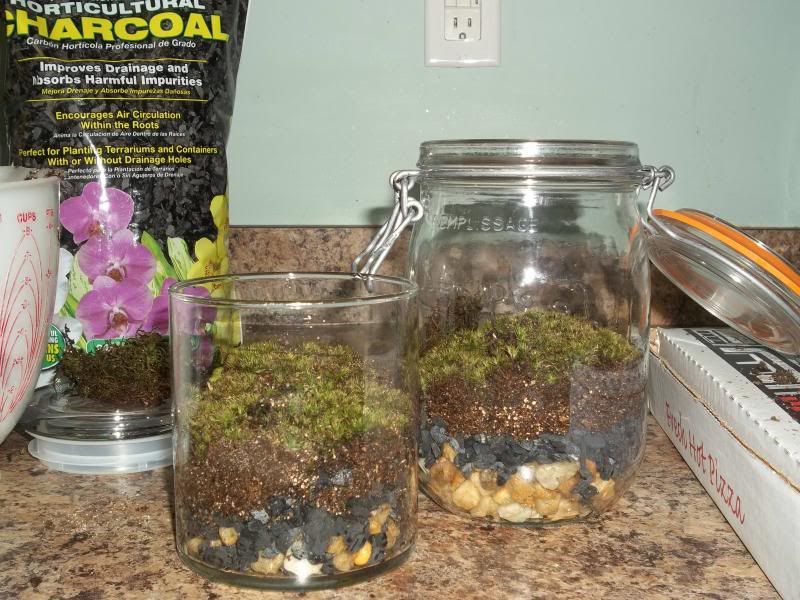
They're very easy to make.  You need a few basic materials first, like a container for the terrarium, some pebbles, horticultural charcoal, seed starting soil, moss, and any decorative items you want to include. 

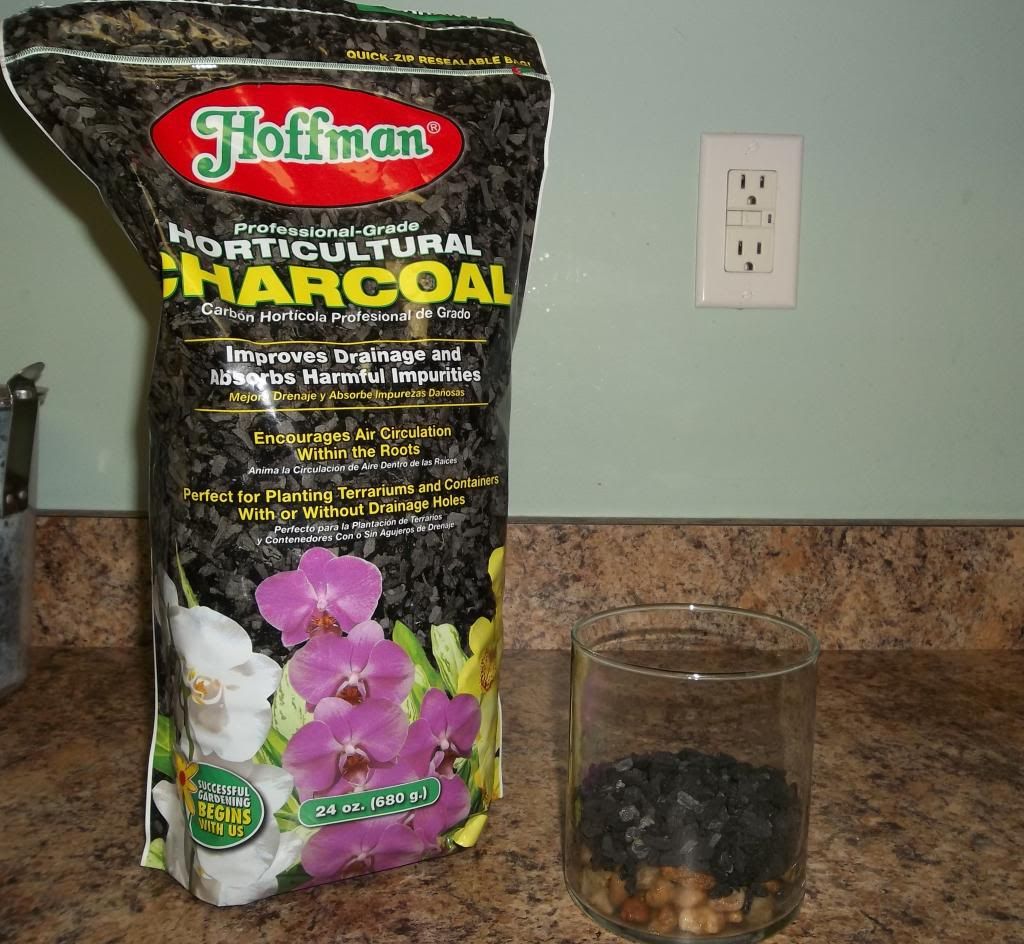
I already had the jars on hand, plus the pebbles and seed starter soil, so I just went to my local nursery/farm supply store and bought a bag of charcoal. 

The first step is to put a layer of pebbles on the bottom of the jar to help with drainage. Then you place a layer of charcoal on top of the pebbles.  The charcoal helps filter any toxins and keep the terrarium clean.


Next comes the seed starting soil.  It's recommended to use that, instead of regular potting soil, because the starter is sterile.  Moisten the soil so it's easy to put in the base of the jar. 


Then you can add the moss.  I went out in our front yard and dug up moss, but you can also buy moss.  I bought some dried sheet moss at the garden supply store as well, but I ended up using moss from my yard.  I wanted it to look like pasture, not jungle, so I went with the yard moss. 
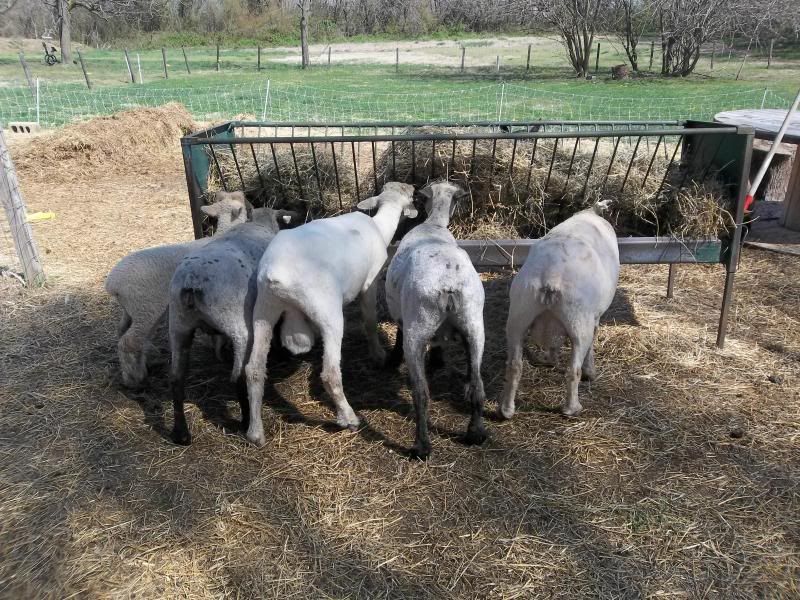
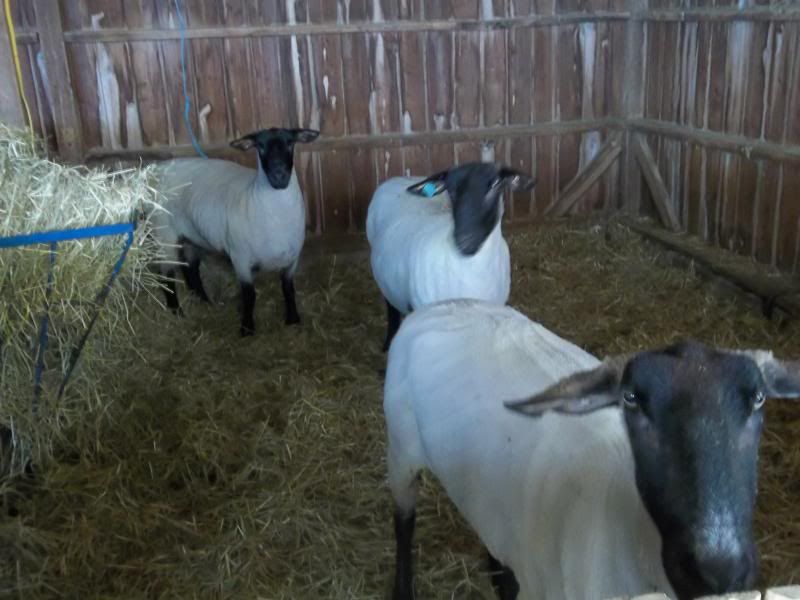
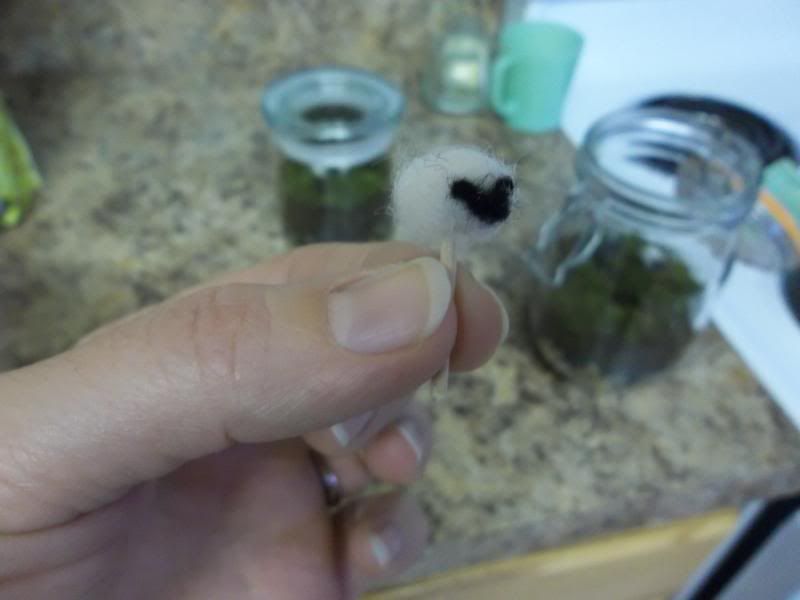
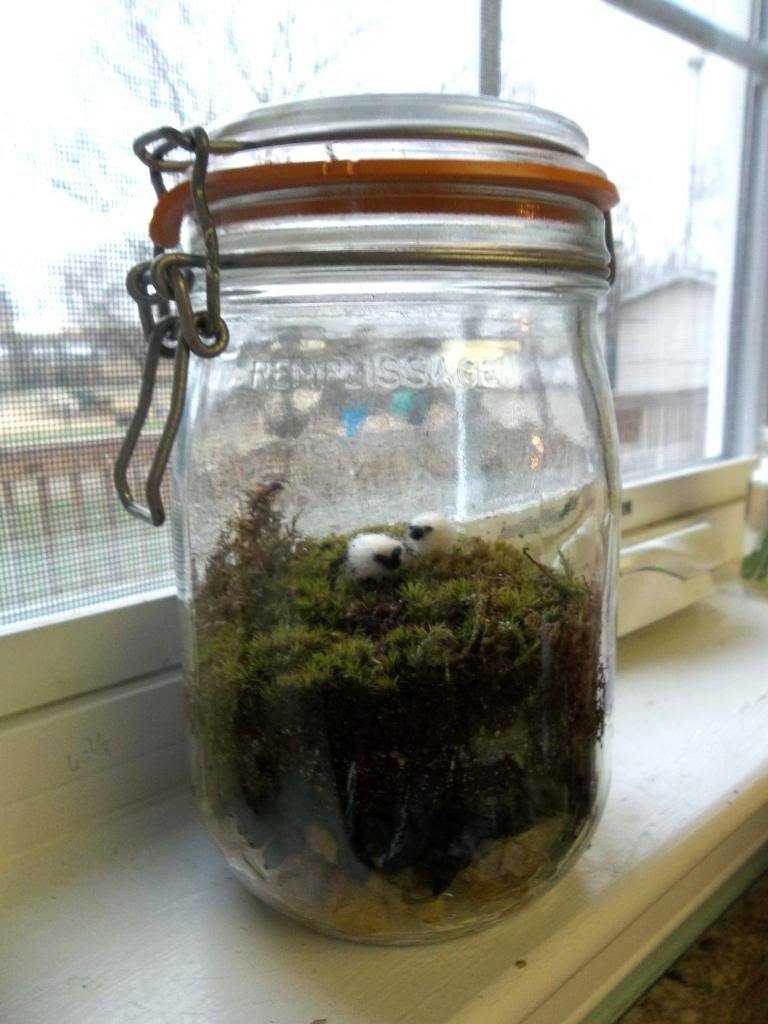
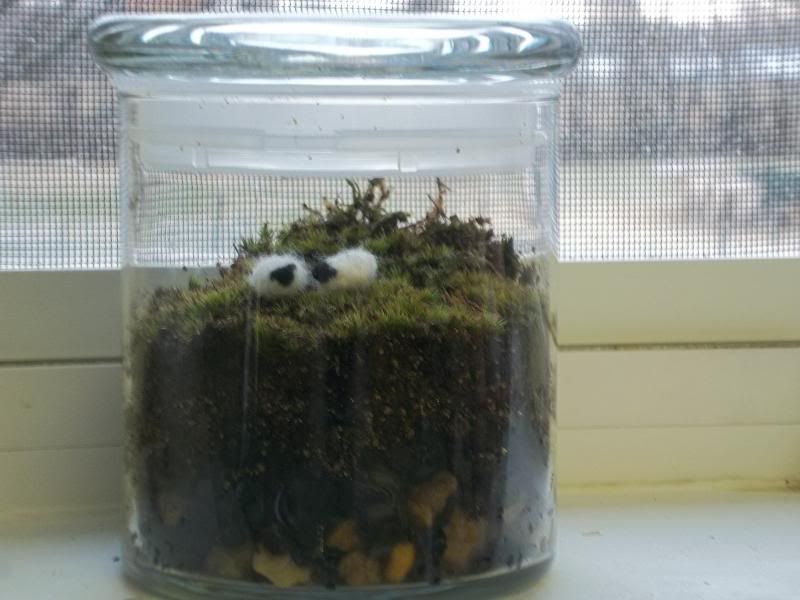
When the moss was settled in and all the gaps filled, I got to work on my decorative addition.  I knew exactly what I wanted to add...little sheep!  I needle felted these little sheep, then used half of a toothpick to keep them in place in the jar.  The pointed end goes into the sheep, and the broken end goes in the moss. 
Aren't they cute!
This is Aunt Linda's terrarium.

And this is the one I gave to Debbie, Aunt Linda's friend, who has been part of MLK weekend since the start!
They're easy to care for, too.  They need bright, indirect light, and a light watering now and then.  When the jars get condensation on the inside, they just need a little venting.

Now I'd like to make myself one, and maybe I'll play around with other felted items inside...maybe cattle?  poultry?  So many possibilities!

Tuesday, April 2, 2013

Woolies


A friend of mine is moving and couldn't keep his sheep, so I offered to keep them for a while until we could find them a new home.  They're Suffolk ewes, and they're available if anyone is interested!  They're pretty wooly right now, but will be shorn on April 14th.  Right now they're hanging out in the barn, staring at the rabbits like they're aliens from another planet. 
Related Posts Plugin for WordPress, Blogger...